Table of Contents
Setting up portal on your Action Types
Portal permissions can be different for each Matter type (or Action Type) that you have in your system so you customize them for each of your different matter types.
Go to Admin > Workflow > Action Types > choose Action Type > Portal to setup your portal permissions on your matter type.
.png?version=1&modificationDate=1507692667842&cacheVersion=1&api=v2&width=969)
For portal permissions you choose what roles on your matter type will have portal permission and then what folder they will have access to. You can then select what type of permission that role can have on documents that are under that folder.
Click the Add Item button to create a new row on the screen and select appropriate values from the role and folder drop downs and tick the box for the permission to be applied. You can keep clicking Add Item to add more and more lines. You are able to set the same role as having access to more than one folder and more than one role to have access to the same folder.
| Tip |
|---|
If you do not see the role or folder you expect, make sure you have configured them correctly. See Roles and Folders for more details. |
There are five types of permissions you can set for portal permissions.
Permissions Name
Description
Can Read
This gives the portal user the option to be able to download a document from the Portal.
Can Create
This gives the portal user the ability to be able to upload a new document into that folder through the Portal
Can Delete
Gives the portal user the ability to be able to delete a document from your folder through the Portal.
| Note |
|---|
Once deleted this document is not recoverable, they delete it from the portal but also from your matter. |
Can Update
This gives the portal user the option to replace an existing document in the folder with another of their choosing.
| Note |
|---|
If a user replaces a document the original document is not kept and content may be lost. |
Can List
This gives a portal user the ability to see the documents within the folder. Without any other permission they would not be able to see more than the name of the document, what type of document it is and how long ago it was loaded. They would not be able to download the document unless you also gave that permission.
Can List MUST be enabled in order for your client to view the list of files. Otherwise they will not be able to select the files to download or delete.
| Note |
|---|
Portal permissions are only applied to matters that are created after they are set. If you already have a matter of that type in the system, updating the portal permissions will not affect any existing matters. |
Troubleshooting Portal Setup issues
System Object Permissions
If you get a message saying that you do not have "Can Invite" permission when trying to invite someone to use the portal please check the System Object Permissions for your system role. There is a specific Object permission for Portal.
Menu Permissions (to ensure you and your users can see and use the portal function)
There are two places where the portal will show in Actionstep. The first is the Portal icon in the row of green icons on your matter, the second is to be able to configure your portal setup on your different Action Types or Matter Types. Most systems allow you to see these options by default but it is possible that your system might have one or both switched off. Both can be switched back on by using Menu Permissions.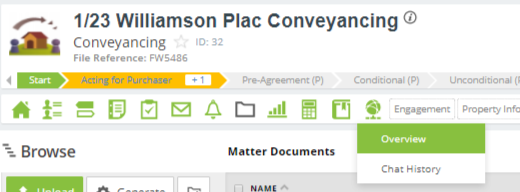
Example of the portal icon at the end of the row of icons on a matter.
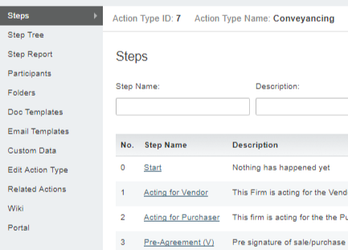
Example of the Portal menu available at the bottom of the Action Type screen
Access the menu permissions by going to Admin > Permissions > Menu Permissions.
To enable the option to see the portal within a matter click on the menu permission called Action Details Menu. Tick the boxes for the system roles you want to access this function under the Portal column.
To show the Portal menu in Action Type Admin you set the menu permission in the Action Type Setup Menu. Again, tick the boxes for the different system roles that should be able to see this under the Portal column. You will want at least the Administrator to be able to do this.