+Once Heads Up is enabled you will see a Heads Up icon at the top right corner of several list views. If you don't see the Heads Up Icon above your list views then ask your Administrator to edit your System Role and enable Heads Up (see Setting Up Heads Up below). 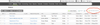
Filter and sort the list until it is providing you with the information you are interested and then click the "Add Heads Up Rule" icon. A settings form will be displayed where you can name your rule, set a schedule and decide which columns you want to include in the email.
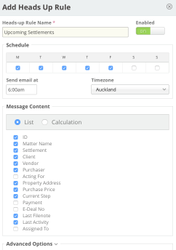
You can specify what time to receive the email and on what days of the week. You will receive a separate email for each Heads Up rule you create.
By default a list will be sent, but if you click on "Calculation" you will be able to specify a summary email using operations (sum, count, average) on numeric columns (for example to display the total of the trust funds in the list).
...
Open the Advanced Options panel at the bottom of the form to specify how many rows to show in the email body and whether to attach a spreadsheet containing all the list results.
Once you Save you will be taken to your personal Heads Up area where you can test the rules and select the days and times that you would like to receive the email messages. 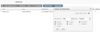
To delete a rule click the checkbox to the left of the rule name and a Delete button will appear at the top of the list.
If you ever need to get back to this page click on your name in the top panel and choose My Heads Up. 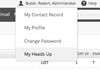
That's it! Your Heads Up email should arrive at the selected time.