Within the Action there is the ability to add, remove or edit parties that are attached to your Action. You control this through the Action Parties screens. There are two available, both from the Parties icon on your Action. Both will display the same information but display it in a different format.
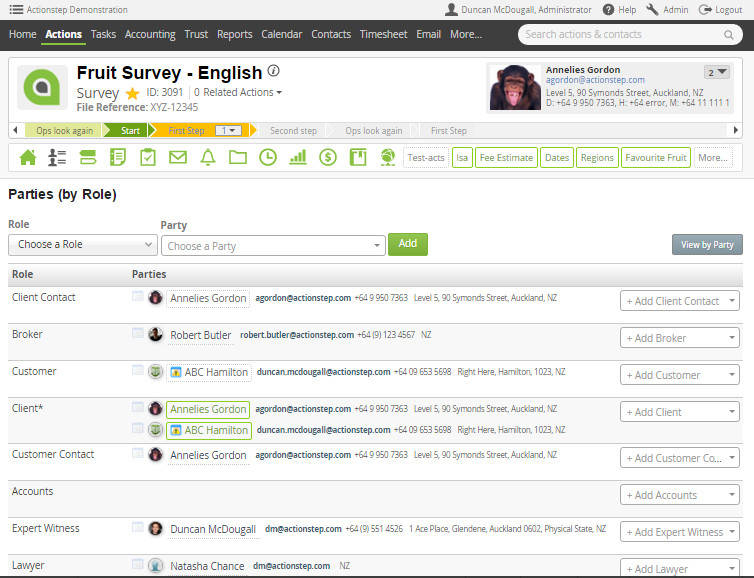
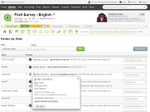
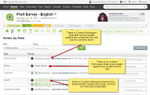
Parties by Role
This will list the different roles that contacts can be assigned to. For example, a matter for handing a legal case might have the roles: Lawyer, Para-legal, Client, Opposing Council, Opposing Parties, etc. Next to each of these roles will be the contacts that you have assigned to them.
| Expand | ||
|---|---|---|
| ||
|
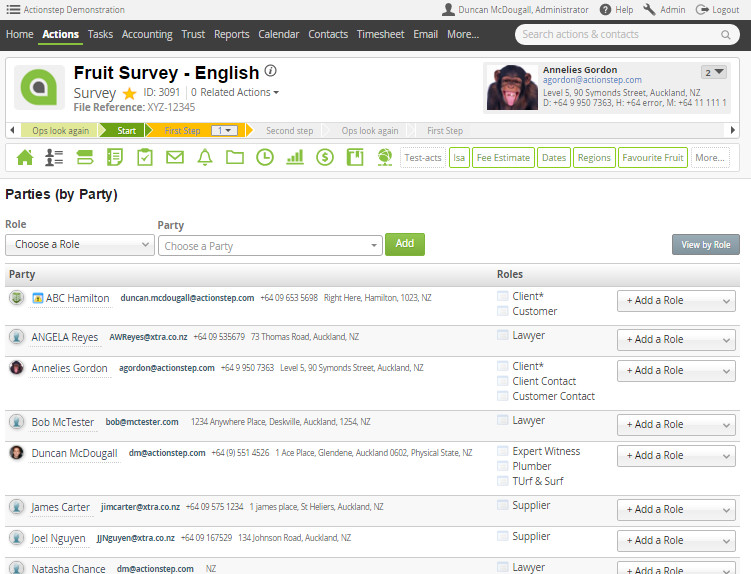
Parties by Party
These will list in alphabetical order the contacts that are assigned to this matter and next to them is the roles that they have been assigned. There is no limit to the roles that a contact might be assigned to so there might be a list of roles they are assigned to.
| Expand | ||
|---|---|---|
| ||
|
Adding in a new Contact
You can either use the add function at the top of the screen to select the role of the contact you are adding or you can type search for the contacts name or role in the Quick Add column beside the contacts or roles name.
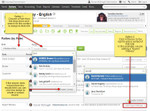
Click image to enlarge
Removing a Contact from an Action
Depending on whether you are looking at the Parties by Role screen or Parities by Party screen you will find a menu icon  beside with the role or contact name. Click on this to see the options of what you can do with this contact. One of the options will be Remove Party. Click on this to remove them as a contact under that role.
Click image to enlarge
Features of the Parties Screens
Creating Contact specific documents
At times you will want to create a document which will pull through the details of one particular contact only such as running a letter template. These can be run from this screen by clicking on the menu icon beside the contact's name (or the contacts role depending on which Parties screen you are on) then selecting the template that you are wanting to run. To learn more about how to setup templates so that you can create documents from the parties screen see: Linking Templates to Individual Parties
.png?version=1&modificationDate=1455238448490&cacheVersion=1&api=v2&width=150)
Click image to enlarge
Further details of a contact
Beside each contact will be the email address, phone number and physical address for that contact (of they have been loaded). You can click on the name of the contact to open their contact record or click on their email address to open up the compose email screen to seen an email to that contact.
You can also see a summary of more details about the contact by hovering the mouse over the contacts name. As well as contact details this view will also display any Custom Participant Data loaded against this Participant Type.
| Note |
|---|
Please note that this will display Custom Participant Data that is loaded against the Action. When a contact is loaded against a matter the Custom Participant Data at that time will be copied to the Action. From that point on Actionstep will store this data against a Action separately from the contact data. It is possible to edit one and not have to flow through to the other. |
You can click the Edit button to be able to change this Custom Participant Data as it is saved against the Action.
Click image to enlarge
Being able to see if Custom Participant Data is loaded against a contact
Like an Actions Custom Data Collections you can see if there is Custom Participant Data loaded against a contact by whether it has a box around the name. If there is a box then there is Custom Data fields loaded against the Participant Type that the contact is loaded against. A contact without a box around it has no custom participant data that is setup to be loaded against it.
If the box and name of the contact is in Green then the Custom Participant Data has been populated. If the contact has a box but both are grey then there is custom data that could be loaded against the contact but it has not been populated.
See the image below for examples.
Click image to enlarge
| Note |
|---|
The custom data that will be shown will only be for the Participant Type (role) that the contact is currently assigned to. The contact might have custom data from another Participant type loaded but as it is not relevant to this role, it will not be displayed. The boxes to help you identify custom data are only available in the Parties By Role view. |
Contact Tags
You can assign tags to help you identify important information about a client. These appear as icons next tot he contacts name. To learn more about how these work see our user guide here: Contact Tags.

Click image above to enlarge for example of contact tags.
...
| Info |
|---|
See updated article in Actionstep Help Center: https://support.actionstep.com/hc/en-us/articles/360000942767-Matter-Parties |