If your firm uses NetDocuments for document storage you can link NetDocuments workspaces to matters and access NetDocuments directly from within the matter screen in Actionstep. Unlike Google Drive and DropBox where these repositories show up as "Drives" in the Actionstep documents page, NetDocuments has its own menu item under Documents so that it can display the native NetDocuments user interface. You can use NetDocuments in conjunction with Actionstep documents or as a complete replacement thereof.
How It Works
You simply link existing matter workspaces in NetDocuments to their corresponding matters in Actionstep. If you don't have a NetDocuments matter workspace you can create one from within the Actionstep matter.
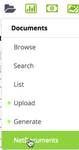
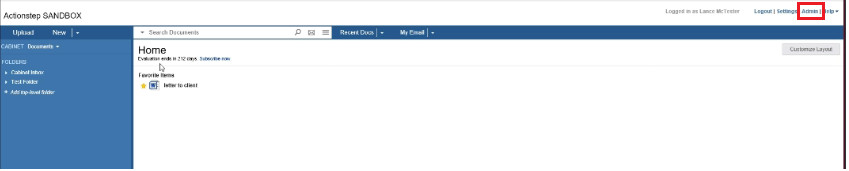
To access the NetDocuments screen click on the documents icon within the matter and select "NetDocuments"
If you have not previously linked a NetDocuments folder to the matter then you can search for an existing, or create a new, workspace and link it to the matter.
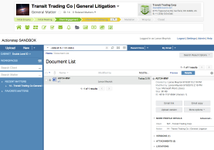
Once the matter is linked you will see the NetDocuments workspace.
| Info |
|---|
Note that NetDocuments has integrations with Word and Outlook to help with the saving of documents and emails straight into your NetDocuments account. If you are integrating Actionstep with NetDocuments, we recommend you gain the benefits of these plugins rather than using Actionstep's Office plugin. |
Admin Setup
In order to use NetDocuments your system administrator will need to do the following:
| Note |
|---|
The user that connects Actionstep and NetDocuments needs to be a Repository Administrator and Cabinet Administrator in NetDocuments. The permissions of what Actionstep can create and do will be limited by any permission restrictions on the NetDocuments login. |
1. Install the NetDocuments Plugin
Go to our Integrations Page and install the NetDocuments plugin into your Actionstep system.
2. Enter Your NetDocuments Credentials
In Actionstep go to Admin > Plugins > NetDocuments Configuration
3. Select a NetDocuments Cabinet
If you have more than one NetDocuments "Cabinet" then select the one that contains your matter documents.
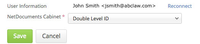
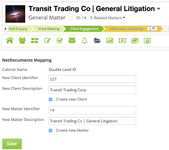
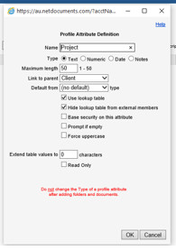
Note that matters workspaces in NetDocuments can either be identified by a single or double identifiers. Single identifiers will map directly to matter IDs in Actionstep. If you are using a double identifier (Client, Matter) then you will need to link the client contact and matter ID in Actionstep.
Unlinking Matters
If a user accidentally links the wrong workspace to a matter an Administrator can unlink the NetDocuments folder by going to Admin > Plugins > NetDocuments Matter Mappings where you can filter on matters and unlink them. The documents will remain in NetDocuments after unlinking and you can link the same folder to another matter if needed.
| Info |
|---|
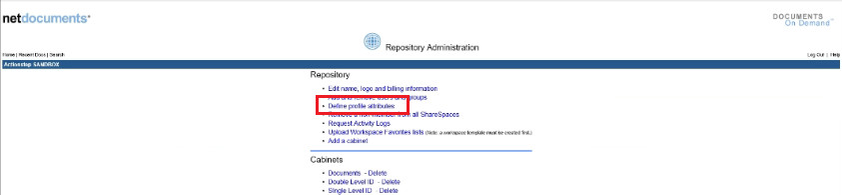
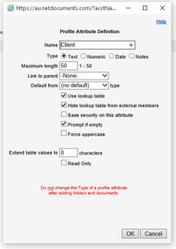
Please make sure that your NetDocuments Account is also ready for an Actionstep Integration. You will have to make sure that the 'Client' profile attribute is set in NetDocuments to use 'Lookup Table'. |
Recommended setup in NetDocuments
NetDocuments can be customised in many ways (like Actionstep). We recommend that you set it up a certain way to get the best out of the integration with Action but this is not not meant to be a limiting way that you configure you system. You can configure it however suits you best.
| Expand | ||
|---|---|---|
|
| Note |
|---|
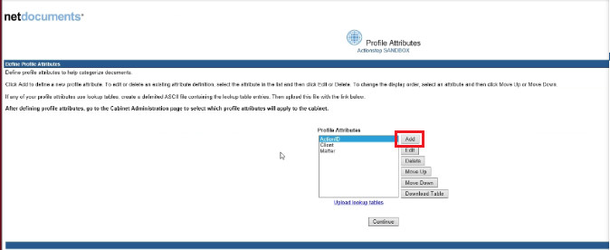
We would also suggest creating an Attribute for your Document Types. This allows you to arrange your documents into different types, e.g. Emails, Correspondence, Quotes, invoices, etc. If you do setup a Document Types attribute it should not have a Link to a Parent. You will have to upload a look up table with the different document types to do this. See Upload Lookup Tables. |
Define Workspace Templates
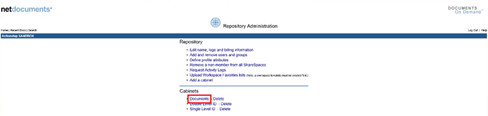
Go back to the Admin screen and click on your cabinet.
Click on Define workspace templates towards the top left of the screen
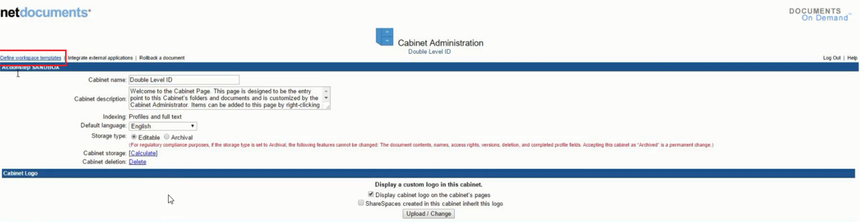
Make sure that the Base workspaces on this attribute is set to "Matter".
Enter in a plural form of Matter ("Matters")
If you have setup a Documents Type Attribute you may want to choose it from Organise documents within workspaces by this attribute to that Document Type.
Tick the box for Enable workspaces for this cabinet and use the default.
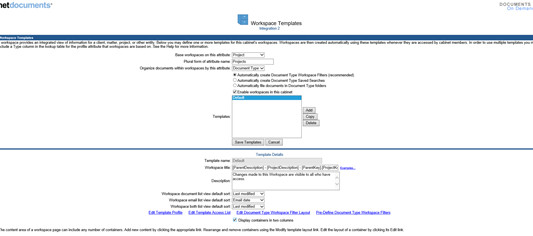
In the Templates Details part of this screen you can use the Workspace Title to define how the Workspaces in NetDocs that are created from Actionstep will be named. You can use this to define how they will be named, ie, client name then matter name. For instance:
[ParentDescription]: [MatterKey]- [MatterDescription] Will show the the Client_Name: MatterNumber - Matter Name, eg, Connor Smith: 198 - Sale of 45 Wilson Street.
Click Save Templates once you have made the changes.
| Note |
|---|
If you have a Attribute for Document type like we mention above you can automatically create folders for each of the types in NetDocuments by Clicking on Pre-Define Document Type Workspace Filters at the bottom of the screen and select them all and save. |
See updated article in Actionstep Help Center: https://support.actionstep.com/hc/en-us/articles/360034136334-Using-the-NetDocuments-Integration-with-Actionstep