VIDEO
Creating a bill (right-click to open in a new window/tab)
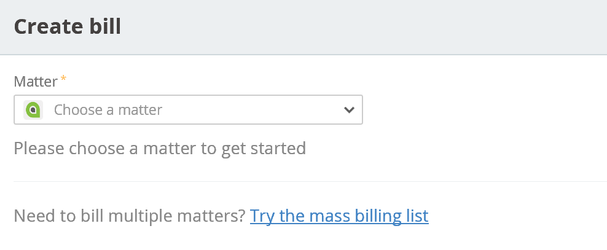
When created outside of a matter, the user will be prompted to select a matter to bill.
When created within the context of a matter, the user will be taken straight to the bill creation screen. In most cases the unbilled charges will be tabulated allowing the user to review the charges and approve the bill.
If there is a quote on the matter, there will be a prompt for what amount to bill for the matter for both fixed fee and hourly billing matters.

The default selection is initially set for the Bill type in Admin > Billing Settings. This can then be overridden in the Arrangement section of the Matter Billing Settings.
Selecting “Other…” will allow an amount to be manually entered for the bill, as well as how a reduction in fees will be handled, if applicable.
Once an amount is selected, or if there was no quote for the matter, the Single bill screen will be accessible.

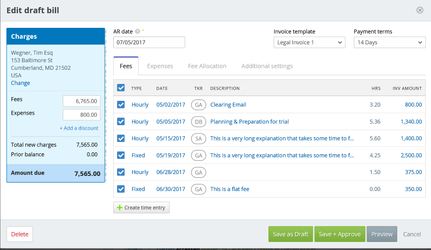
Create Bill Screen
Bill Options

AR date
The Accounts Receivable date is the user selected date that is used to post bills to the general ledger. It is also the date used for aging an invoice. If a free or expense falls before the selected AR date, it will be excluded from the bill.
Bill up to
Includes items up to and including this date. If a free or expense falls before the selected Bill up to date, it will be excluded from the bill.
Bill template
The bill template that is default for the matter. This selection can be changed per bill.
Payment terms
Default payment terms for the bill. This selection can be changed per bill.
Charges
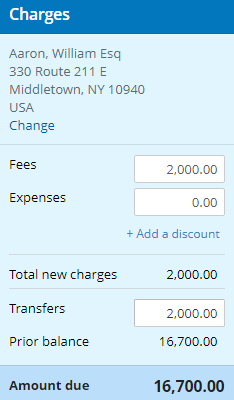
Shows a summary of charges for the bill. Includes the client being billed for the matter.
Client Setup
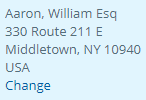
Selecting Change under the client address launches the client setup screen.
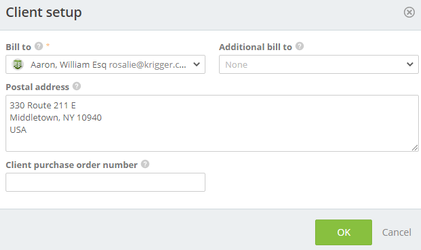
Here, you can change or add clients, update the postal address, and add a client reference or purchase order number for the bill.
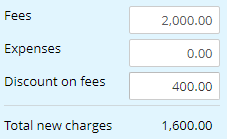
Fees
Total fees that are included on the bill. This amount can be edited.
- Fee increase
- “Create time entry” will launch the time entry screen, so the user can create a new entry to cover the increase
- “Hide line pricing and show total only” will create an adjustment on the bill.


- Fee decrease
- “Appear as discount” will reflect on the bill as a discount in the charges section, and use the “default description for discount” from Admin > Billing Settings on the bill output.
- “Hide line pricing and show total only” will reflect as a negative fee adjustment on the bill which hides the line item totals and reduces the total amount.


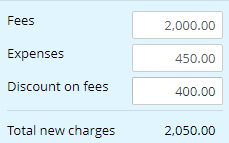
Expenses
Total expenses that are included on the bill. This field can be increased manually. Increasing the amount will launch the New Expense screen to create a new expense for the difference.
Discount on fees
This reflects the amount of the discount applied to the bill. This is either inherited from the matter billing arrangement settings or entered when creating the bill.
- To enter a discount when creating a single bill, select the Discount on fees field. A form will popup to dictate the discount to be applied.
- None - No discount
- % of fees - discount will be based on a percentage compared to fee
- Ex. If fees are 400.00, a 10% would be a discount of 40.00
- Fixed amount - A set dollar amount to be discounted from the bill

Total new charges
Fees + Expenses - Discount
Transfers
Funds held in trust or general retainer being applied against bill
Select +Add a transfer or the transfer amount(if transfers are automatically applied) to add/edit transfers.
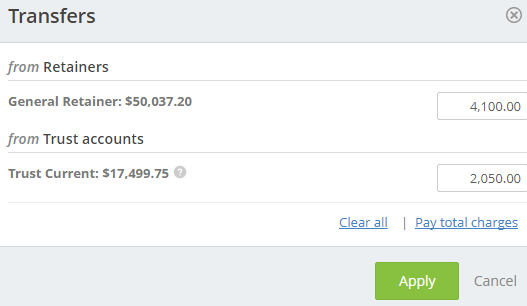
This popup shows the available accounts and amounts being held in those accounts. To apply funds to the bill, fill in the amounts in the corresponding fields or select Pay total charges and Apply. You may only apply as much as you have in the matter’s account.
Prior balance
This shows the previously billed, charges minus any payment or write off against that previous balance. Transfers can also be applied toward the prior balance provided that is the way you have the matter set up.
Amount due
Total new charges - Transfers + Prior balance
Fees Tab
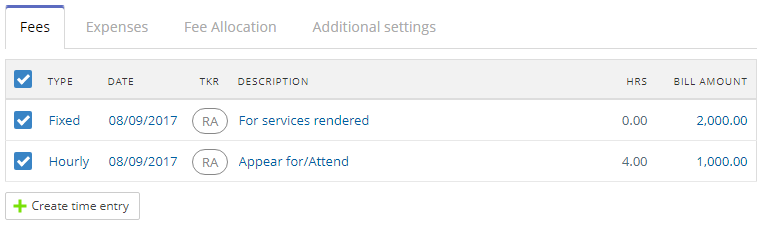
All checked fees will be added to the bill. Fees can be removed by changing the AR date or unchecking the specific fee. Selecting the hyperlinked parts of the fee line opens the time entry to allow editing.
Any fee adjustment will appear below the fee list.
Additional time entries can be created with the +Create time entry button.
Expenses Tab
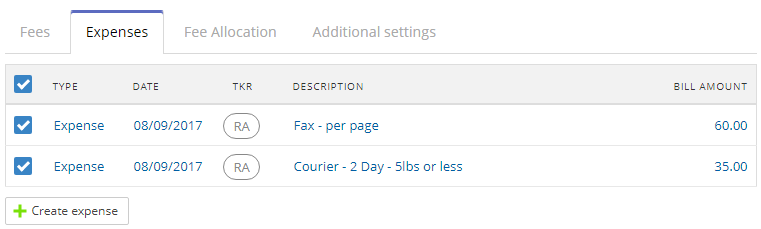
Expenses can be removed from the bill by adjusting the AR date or unchecking the corresponding checkbox. They can be edited by selecting the hyperlinked text in the expense line.
Increasing the expense amount in Charges will launch a new expense entry form.
Additional expenses can be added using the +Create expense button.
Fee Allocation Tab
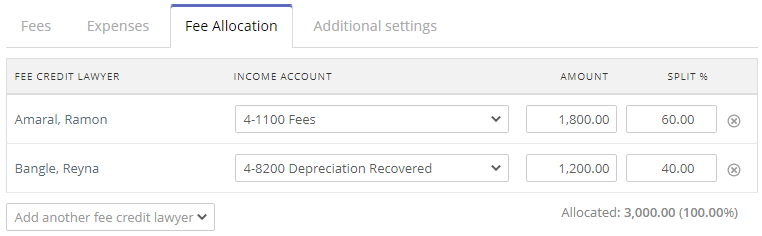
Fee allocation is affected by Matter Billing Options and Admin > Billing Settings. However, the amounts/percentages can be changed when creating a single bill. Timekeepers can be added or removed as needed. Default income accounts are inherited from Admin > Billing Settings under the Timekeeper Fee Allocation heading.
The fee allocation is viewable from a billing, collection and AR reporting perspective.
Single Bill Next Steps
There are four buttons at the bottom of the Single Bill screen.

Cancel
A bill will not be created at this time. Any non-default settings are lost.
Preview
A PDF of the bill using the selected bill template is displayed.
Save as Draft
The bill is sent to the review screen for the next part of the billing process.
Save + Approve
Posts the bill and is put into production for you to print and or email